Setup And Configure A LiveU Unit
To configure a LiveU stream:
-
Go to LiveU’s website.

-
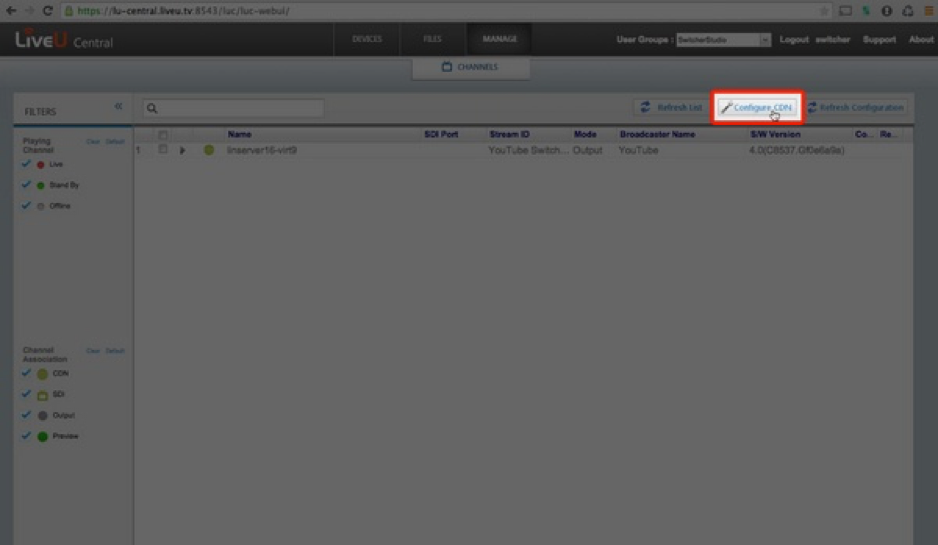
After logging on, your LiveU unit will show up in the device list. Click on the “Manage” tab to begin configuration. From here, you will be able to configure where and how the LiveU will broadcast.
-
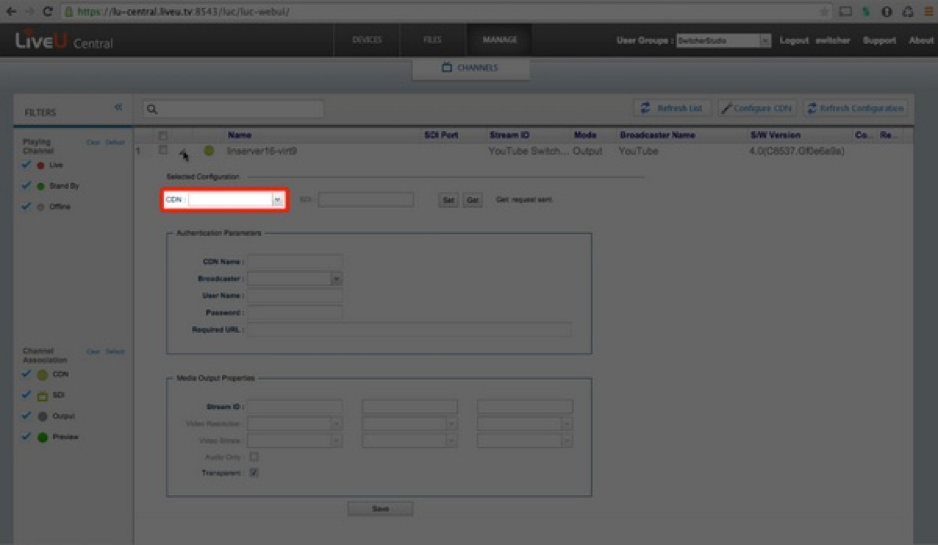
On this page, you will see a LiveU virtual server. This is the server that will relay your broadcast. Next, we will want to “Configure the CDN.” CDN is short for Content Delivery Network and is the video player viewers will use to watch the broadcast you produce. A few examples of popular CDNs are YouTube, LiveStream, UStream, etc. Using the LiveU virtual server, you can also broadcast to Akamai and other platforms that require special authentication.
-
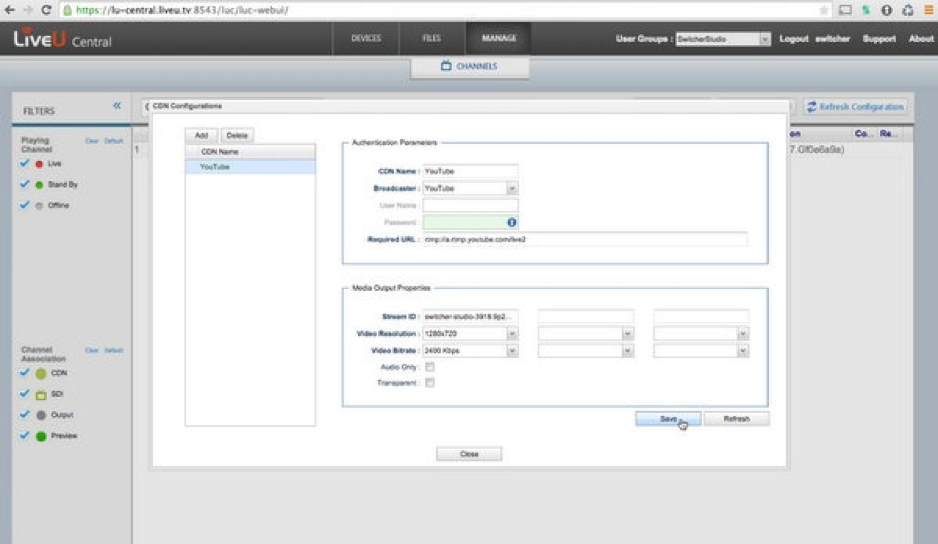
From here you will select what CDN you will be using and insert the streaming values.
-
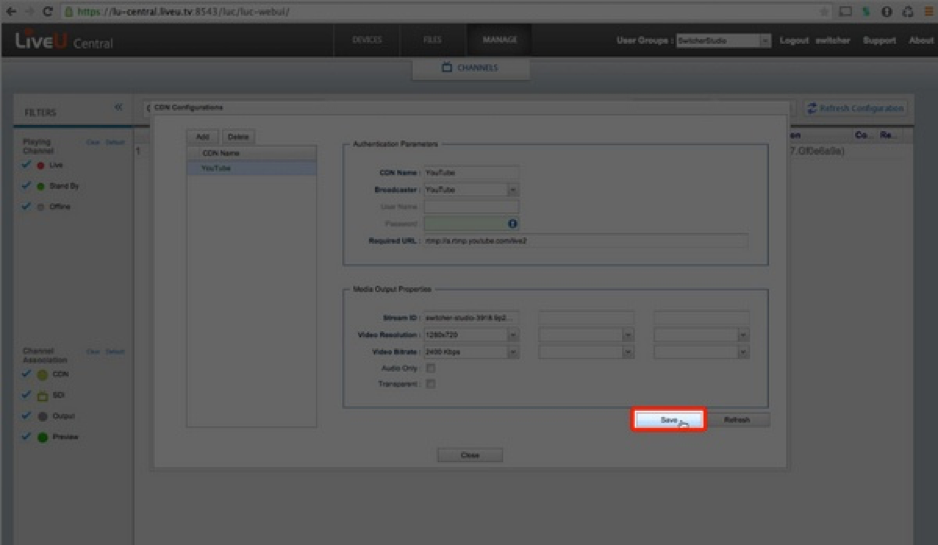
Once you have entered your Stream URL and Stream ID, click on “Save” at the bottom to apply your settings.
-
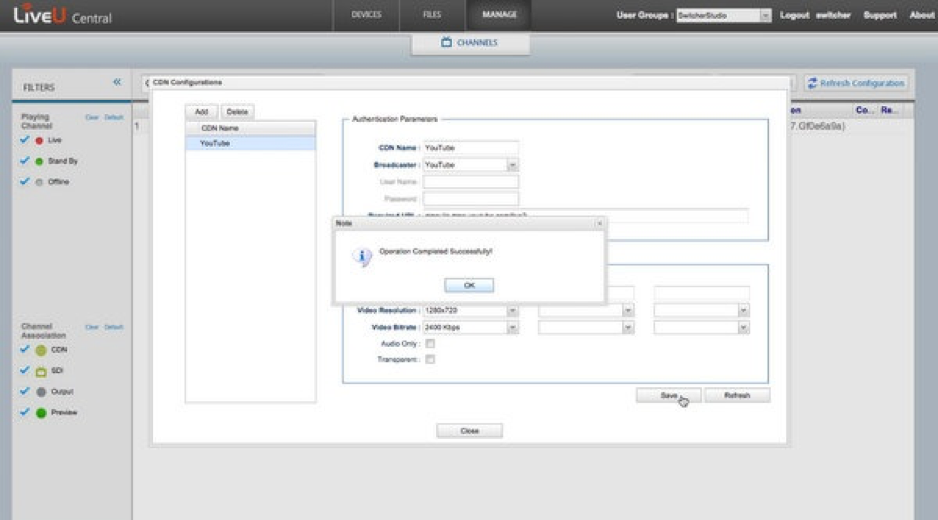
Your settings will be saved.
-
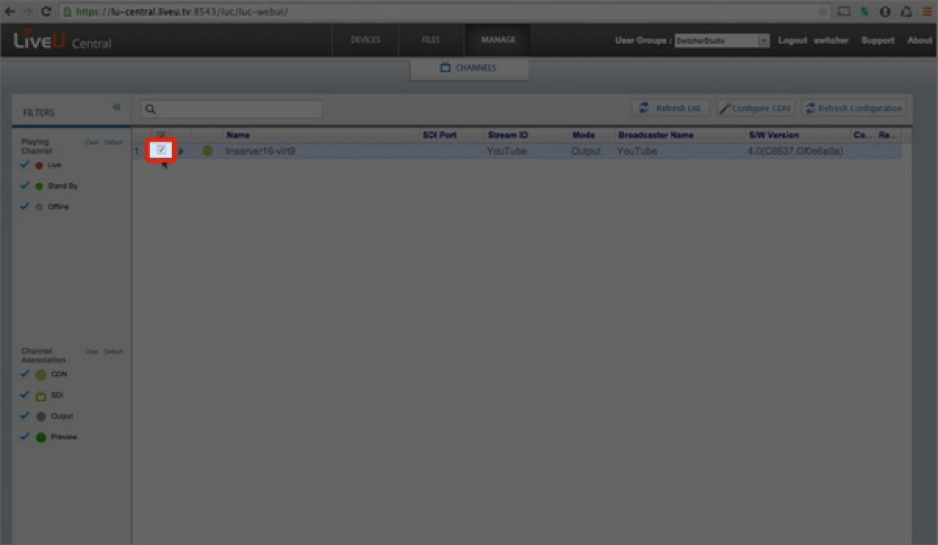
Once the settings have been set and saved, select the dropdown next to your LiveU unit.

-
Pick the CDN profile you just created from the dropdown menu.
-
The information will fill in automatically. Click “Set” to assign the CDN to the LiveU virtual server.

-
Select the checkbox next to the LiveU virtual server to make it the default destination when broadcasting with your LiveU unit.
-
At this point, your LiveU is ready to stream to your CDN.